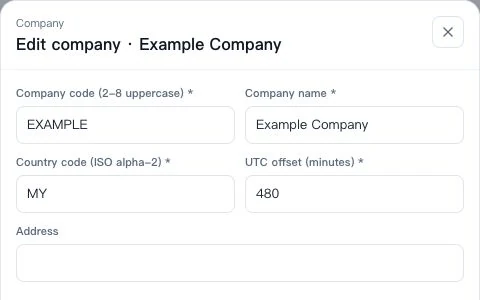
1. Confirm company settings
Open Organization → Company management at /app/hr/org. Check the company name and UTC offset; change your own interface language in Personal Settings.
First-day AllOne Sales quick start for administrators and employees.
Set up employee access, connect a channel, and check that messages can be received and answered.
Open Organization → Company management at /app/hr/org. Check the company name and UTC offset; change your own interface language in Personal Settings.
Find the employee at /app/hr/people. Check account and role access at /app/hr/accounts and /app/hr/roles, then have the employee sign in with their own account.
Authorize one supported provider account and map its inbox to a team.
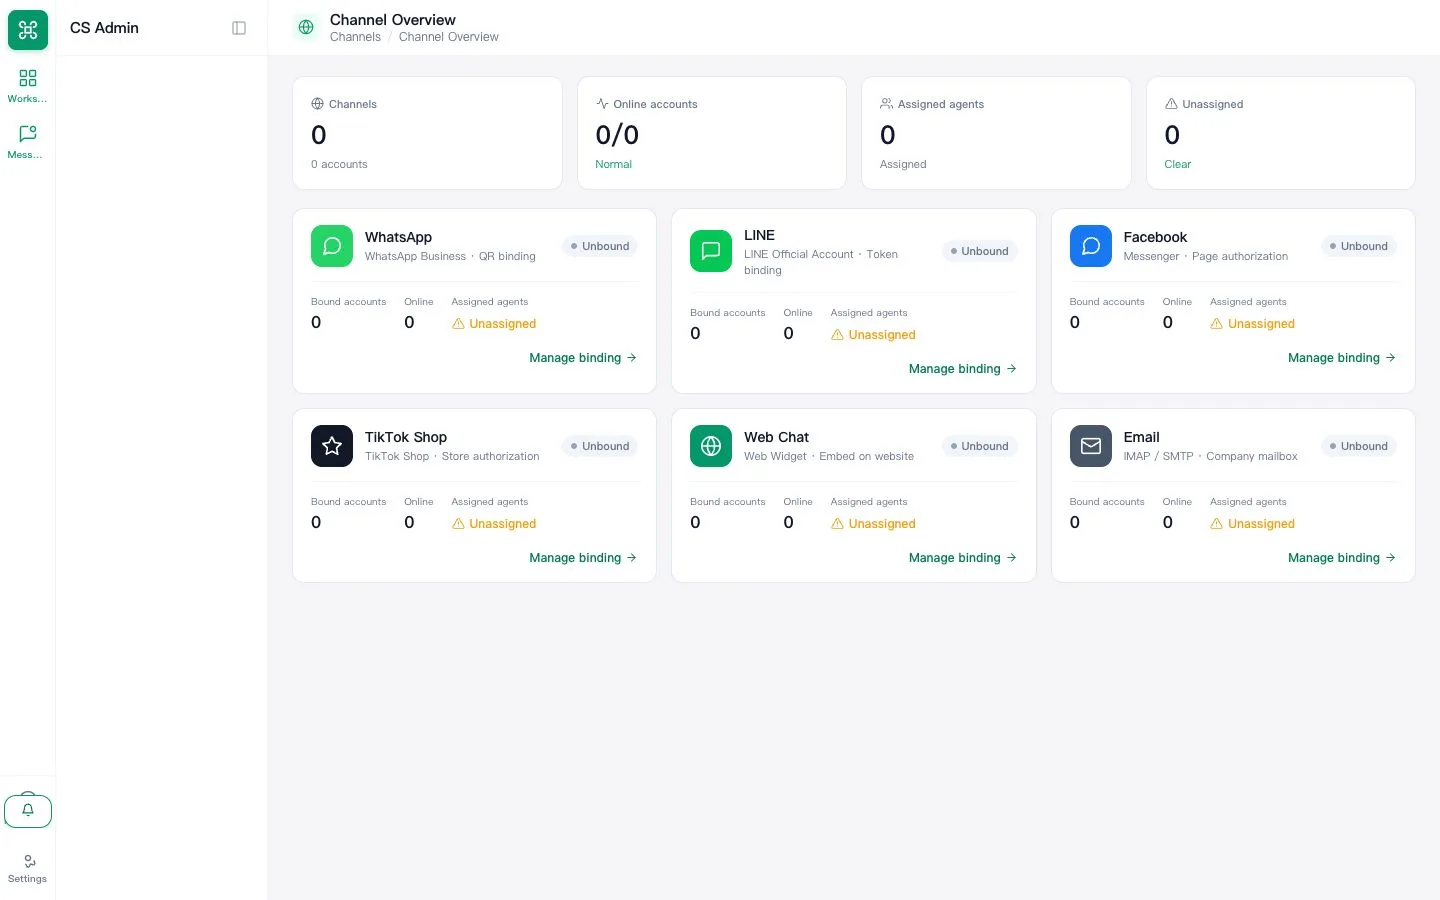
Send from a separate customer account, reply in AllOne Sales and verify delivery.
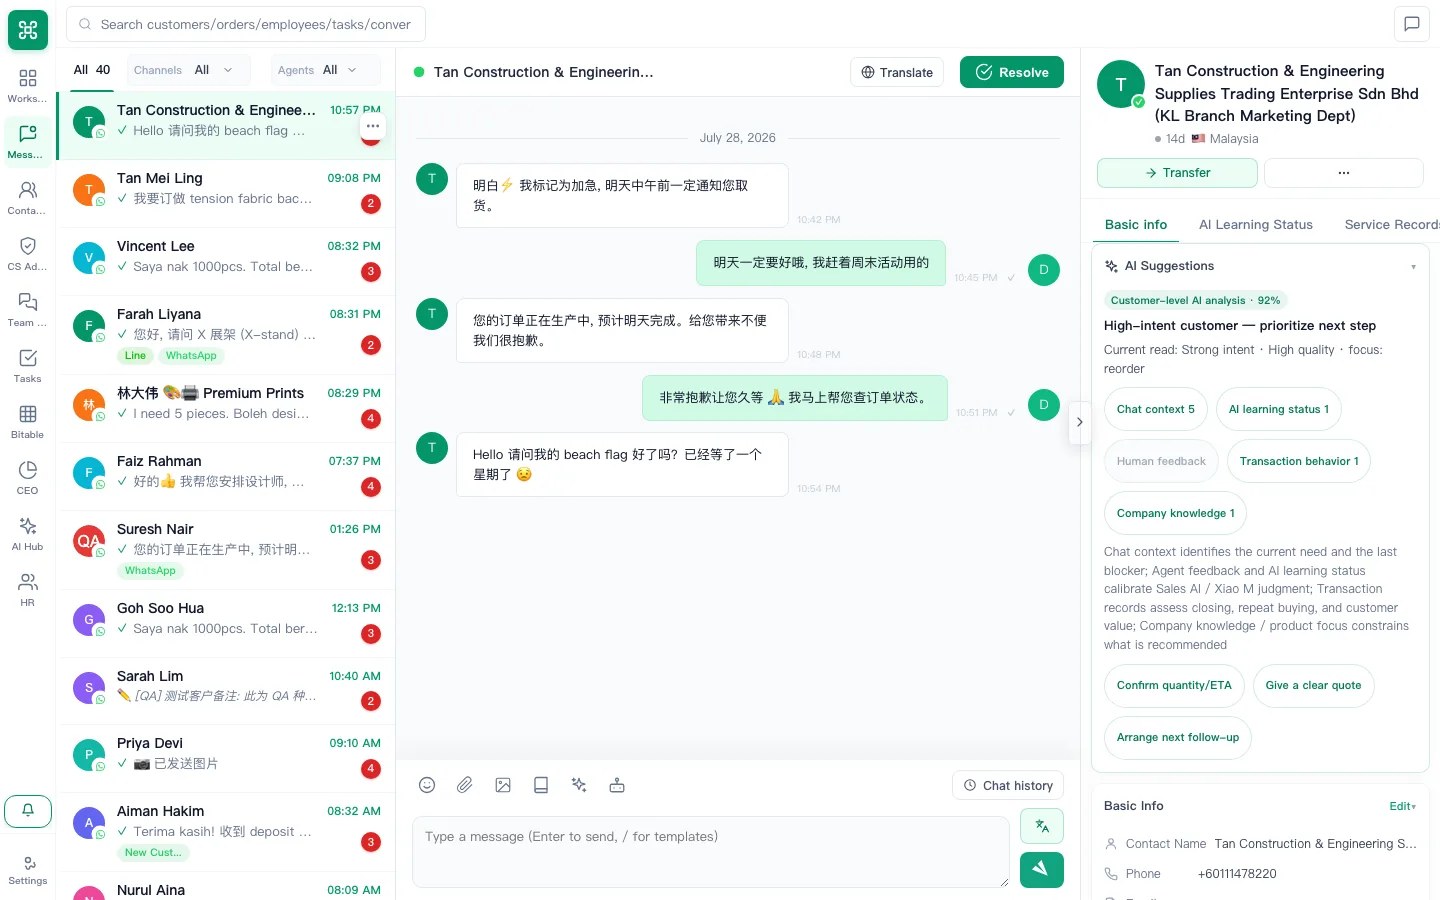
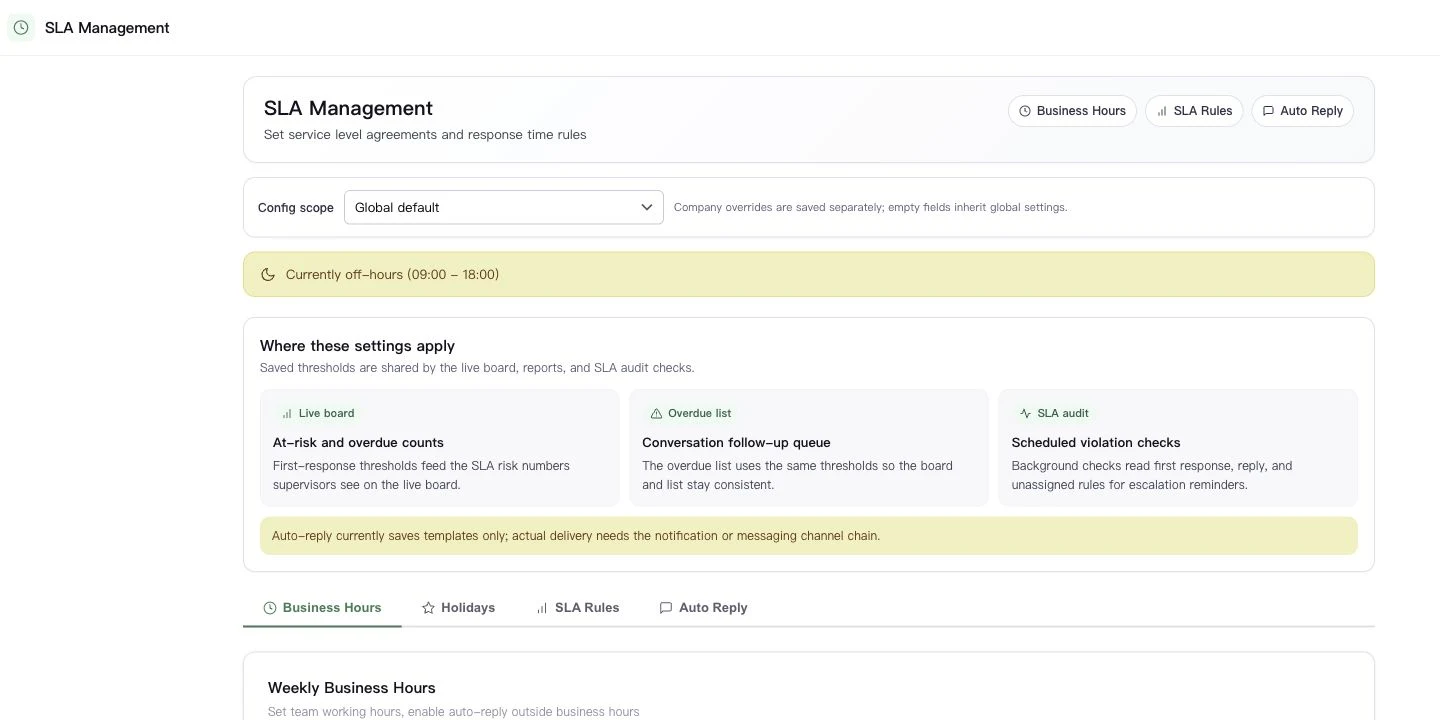
Check the actual conversation owner in the inbox. If your team needs response targets, follow the SLA guide at /app/sla-settings and verify the timer with a test message. Saved automatic-assignment policies do not prove direct-inbound routing.
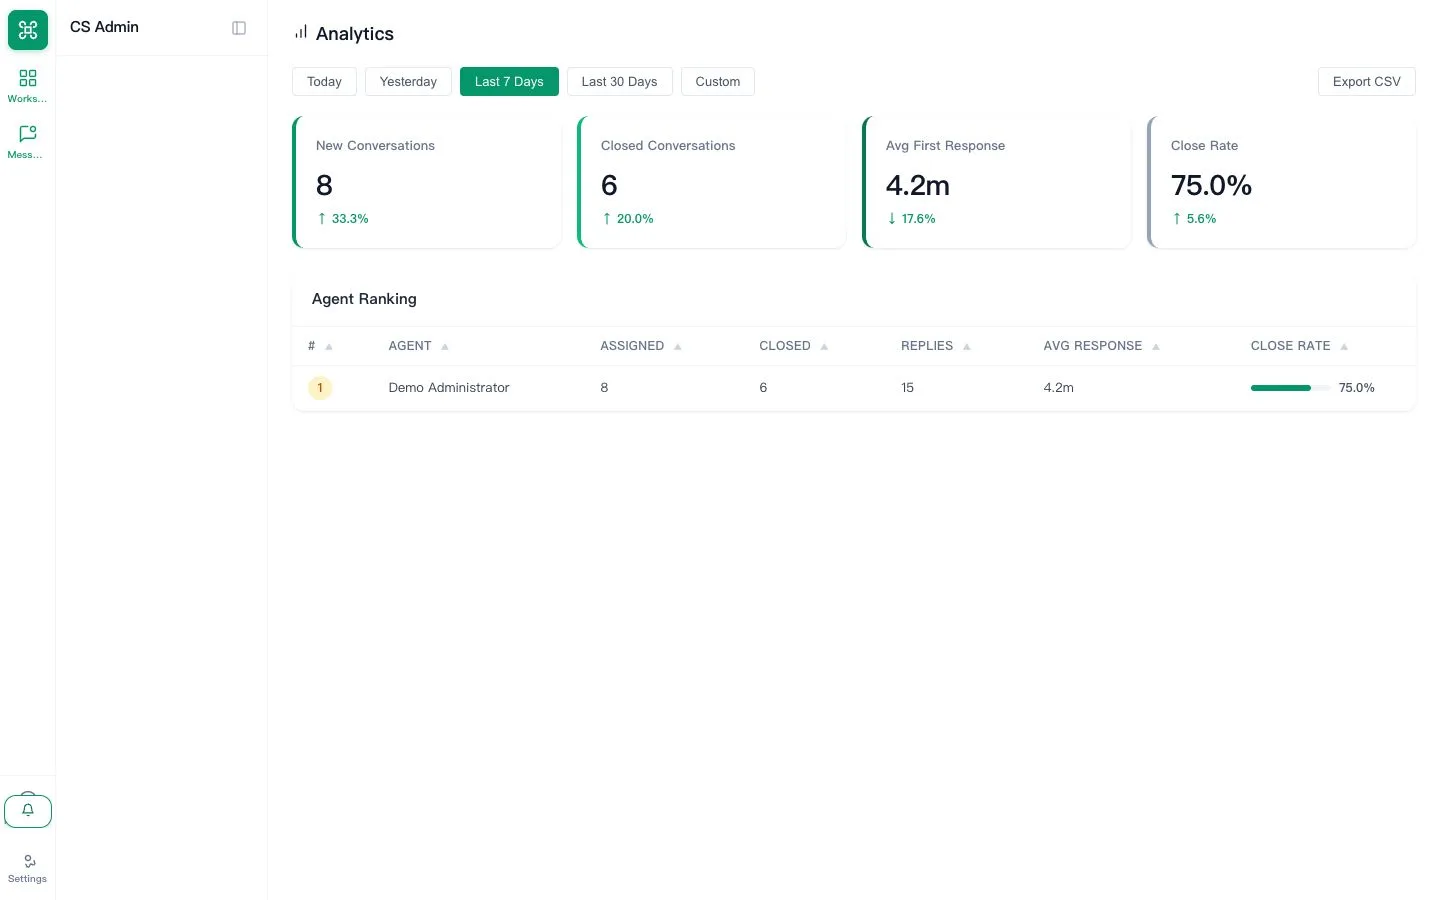
Open the dashboard, set the date range and confirm test activity is represented.
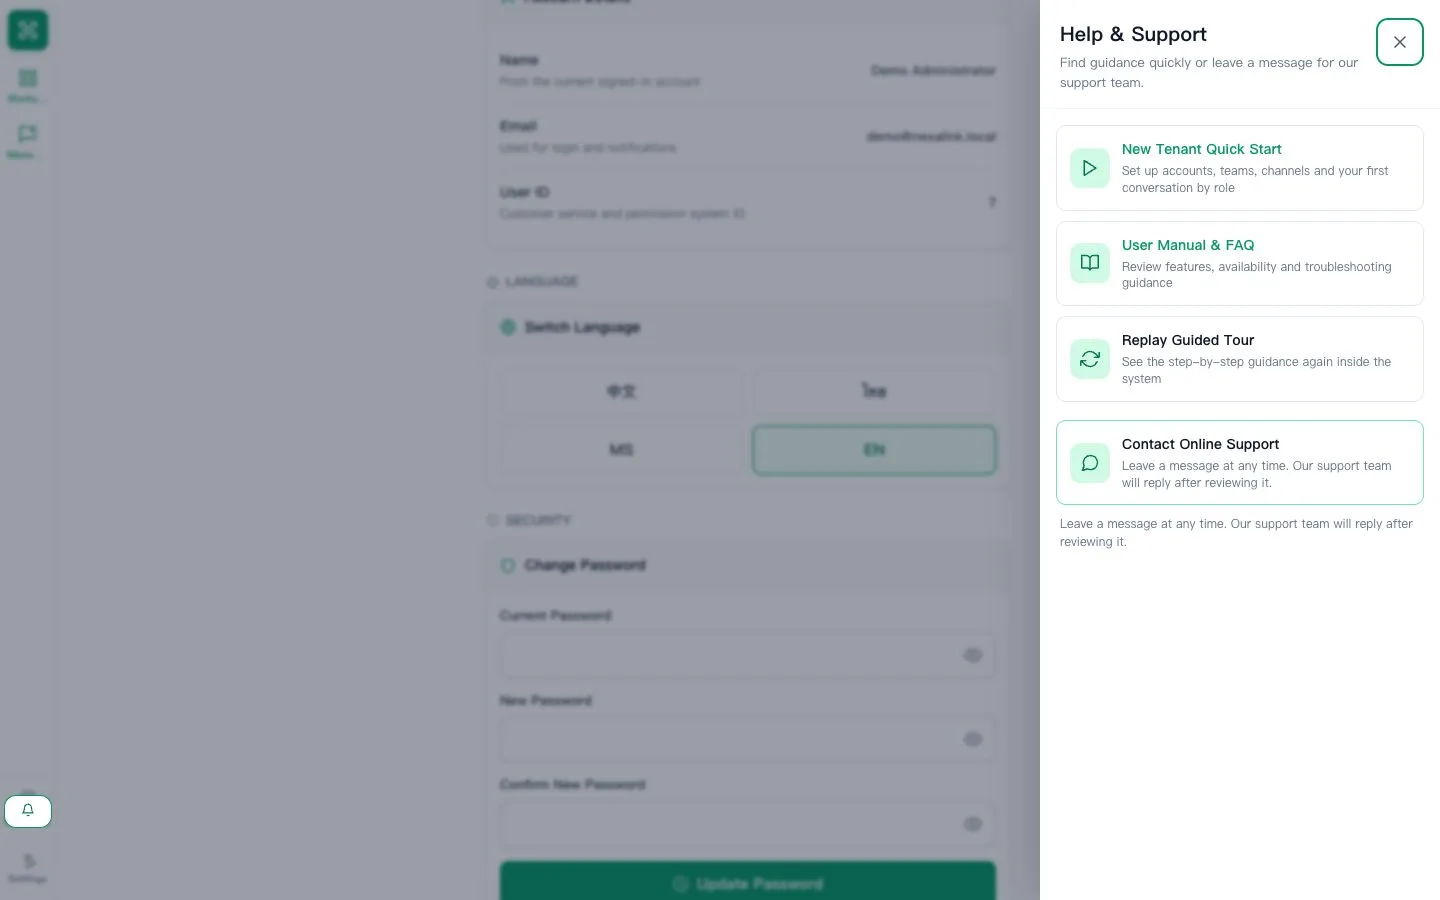
Open Help & Support and locate the manual and Online support. Share these entry points with colleagues; send a message only when you have an actual question.
Learn the daily workflow and where to get help.
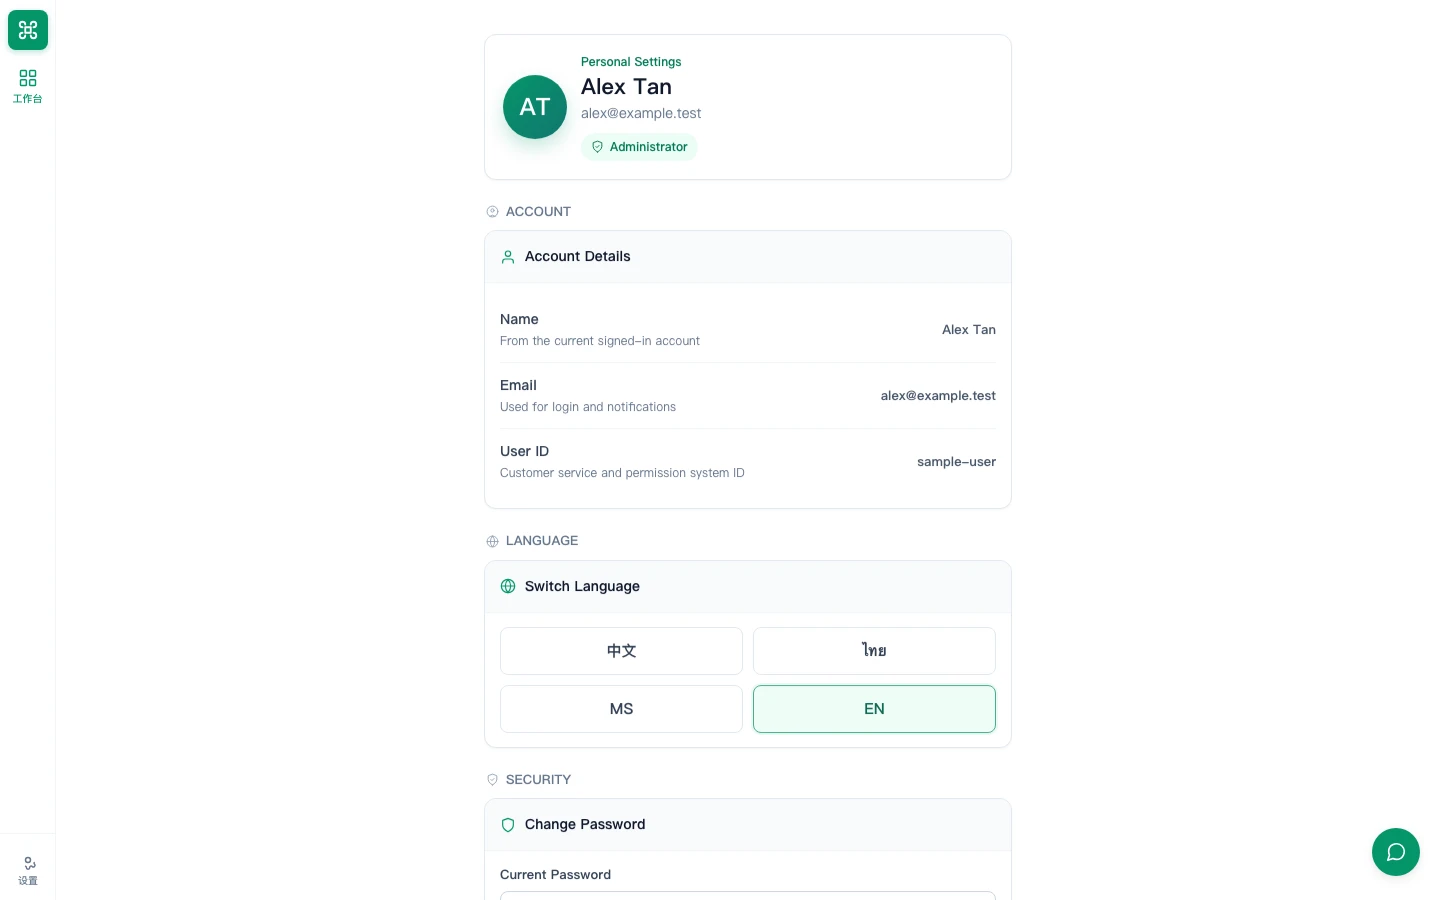
Confirm the read-only name and email, choose the preferred language, then change any temporary password.
Open the assigned queue, review customer context, reply and set the correct next status.
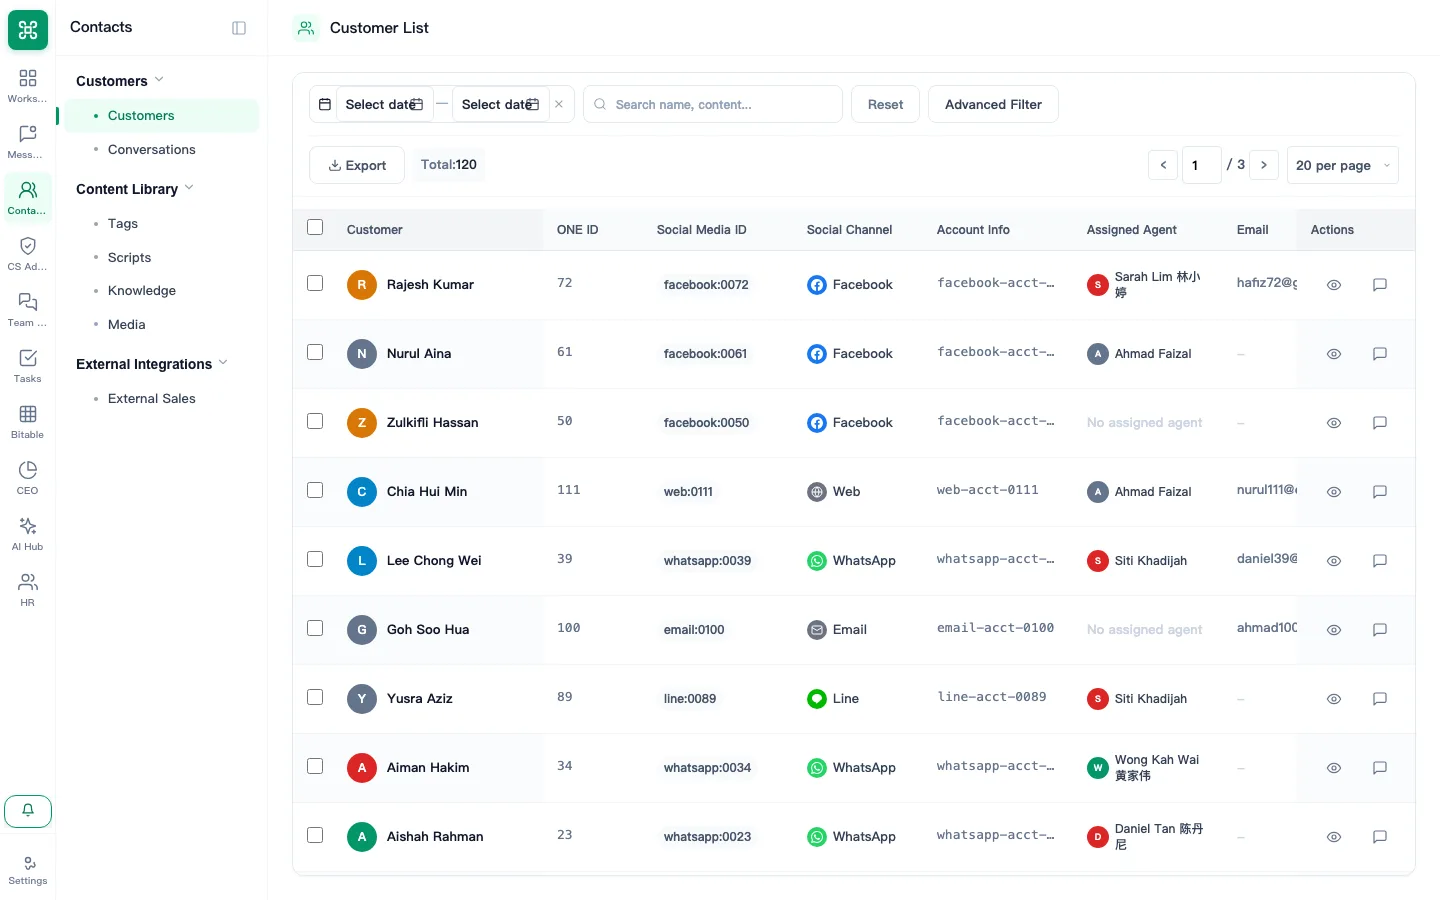
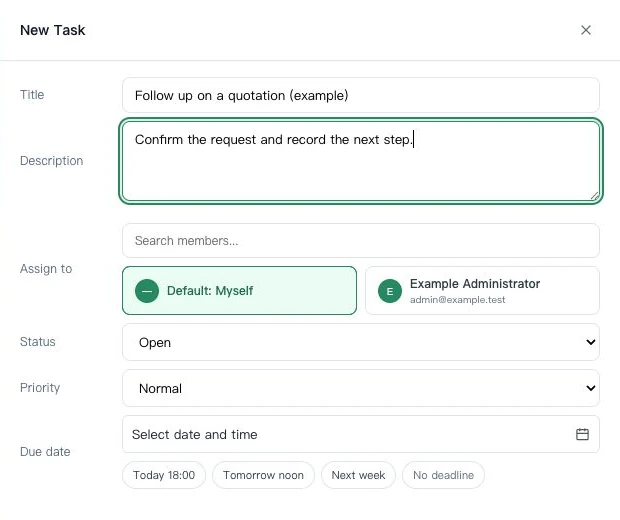
Find the customer at /app/customer/, then use the row’s New Task action to record a title and due time. Use Tasks to arrange assignment.
Send an internal message, create or accept a task and attach the result before completion.
Find the manual, replay the guided tour and learn what context to send support.