Find a customer and create a follow-up task
Keep the customer record accurate, then turn the next action into a dated task linked to that customer.
- Who uses it
- All users
- Content updated
- 2026-09-09
Sign in to your company workspace first. Add the /app/… paths below to your company system URL.
Before you start
- Customer-record access; editing records and creating tasks require the corresponding permissions.
Steps
Search before creating a customer
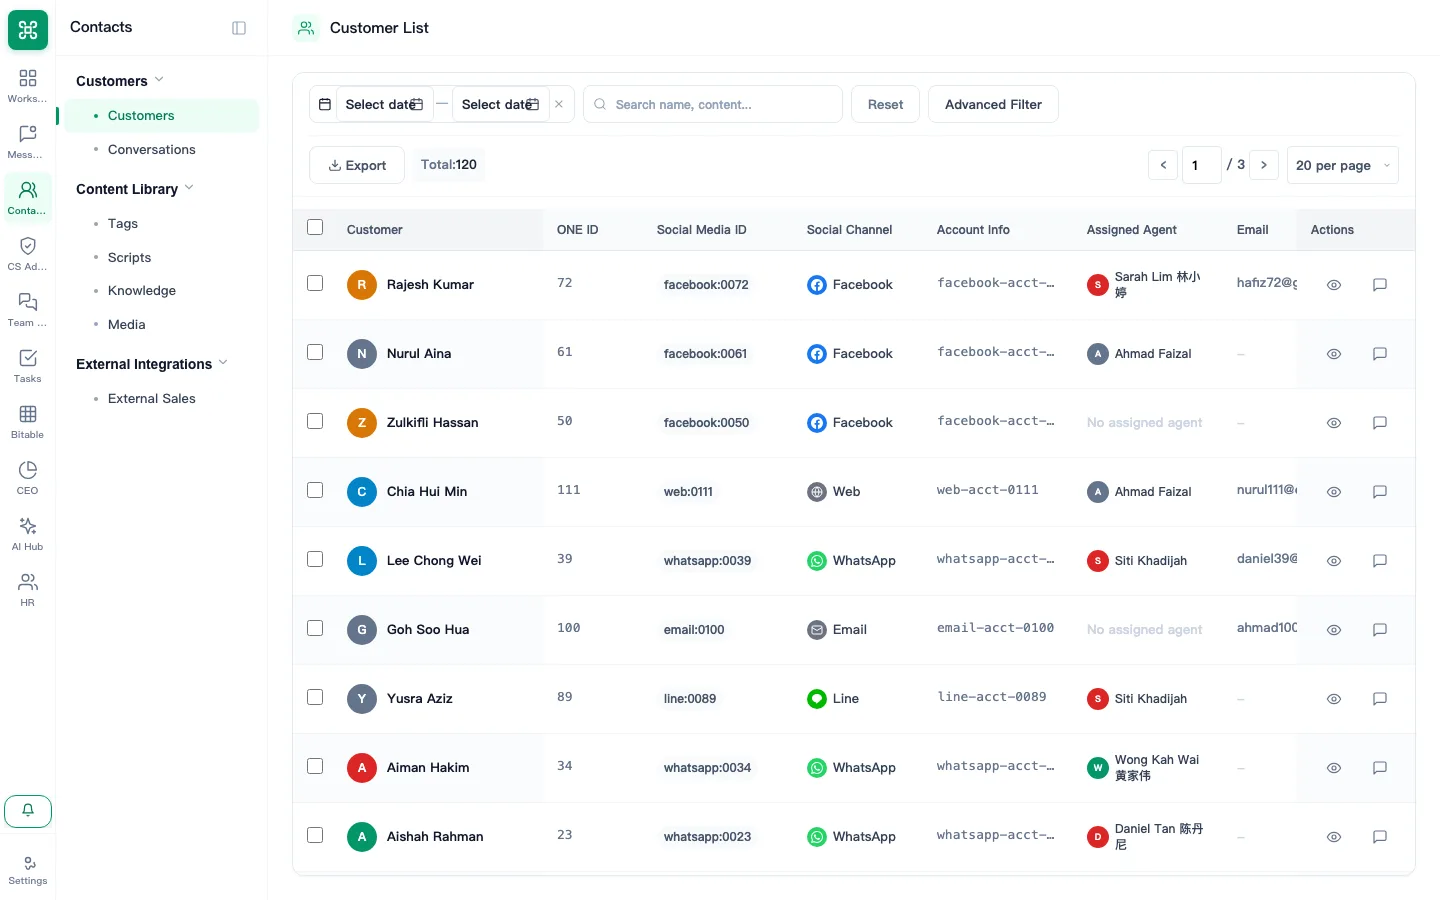
Open Contacts → Customers, at /app/customer/. Search by known name, email or phone before adding a record. The broader Contacts entry may open conversations first; choose the customer list when you need to edit the record.
Expected result: You have located the existing customer or confirmed that no matching record is present.
Edit the confirmed details
Open the customer and choose Edit. Update only the confirmed name, contact details, company, country, language, stage, priority and business notes, then Save. Check the refreshed list and detail panel.
Expected result: The customer detail shows the saved information.
Create the next task from the customer row
Choose the New Task action on that customer’s row. Check the customer shown in the form, then enter a clear title, priority, due date and description. Save. Changing Follow-up status in the customer profile by itself does not create this task or its deadline.
Expected result: Save succeeds and the task is linked to the selected customer.
Assign and track the work in Tasks
Open Tasks at /app/tasks/mine, locate the task and use Assign to and status to arrange the work. Add the completed result before marking it Completed. The customer quick-create form does not include an assignee selector.
Expected result: The task has the intended assignee, deadline, status and a result when finished.